

This guide will help to show you how to lay a cost-effective and long-lasting gravel path for your garden.
How to lay a gravel garden path
Maintaining a quality garden can bring a variety of challenges. The desire for a clean and attractive garden, with minimal continued maintenance and cost, has led to more people installing gravel surfaces into their garden.
Gravel paths are an elegant, versatile and highly durable option for your garden, with minimal maintenance required if laid properly. This guide will help to show you how to lay a cost-effective and long-lasting gravel path for your garden.
1) Planning
The first thing to ask yourself is where you would like your gravel path to start and finish and how wide you want the path to be. This will help inform how much you are likely to spend on materials so can help you budget.
The longer or wider the gravel path, the more gravel or aggregates you will need to order, so make sure you calculate exactly how much you will need (why not use our handy aggregate calculator) to order and prevent coming up short and delaying completing your project.
You can plan the precise route of your gravel path in advance with string or marking paint. Why not do some research and find some different styles of path before settling on your design. Don’t forget to make sure that the base surface is suitable for a gravel path; things like steep inclines in particular should be avoided.
2) Choosing your materials
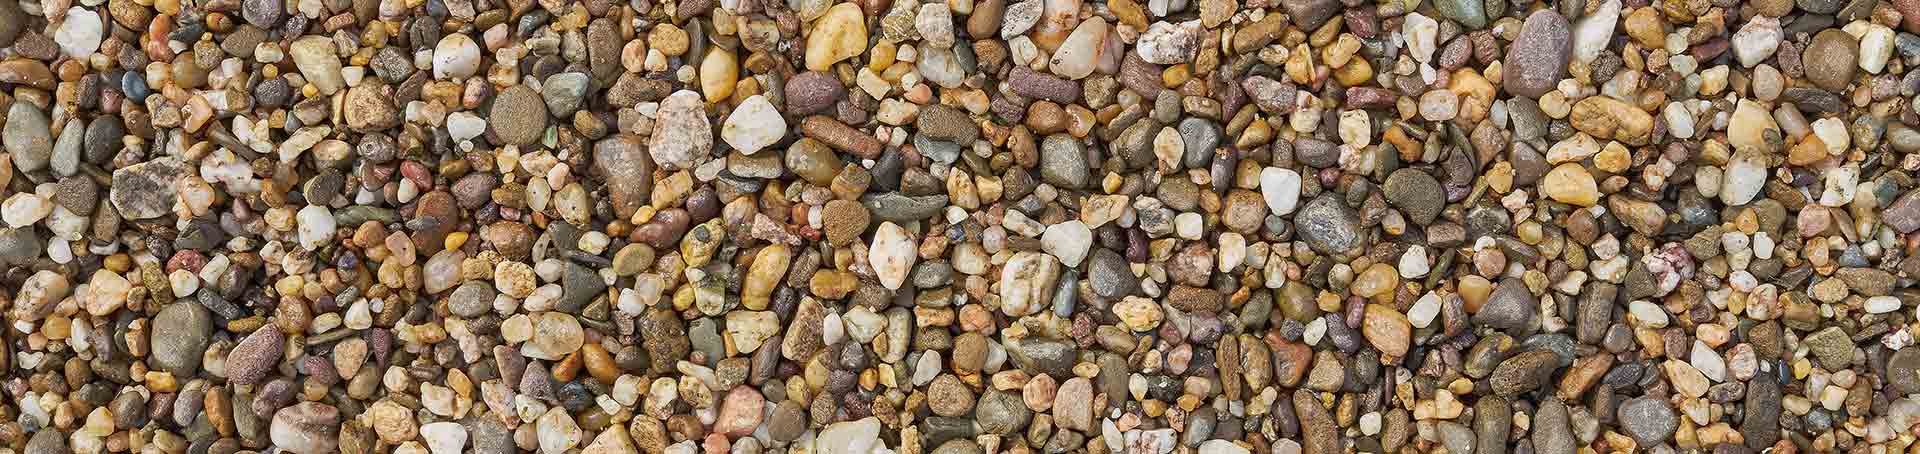
There are a variety of aggregates and gravel combinations to choose from for a path and each type has its own strengths and best applications.
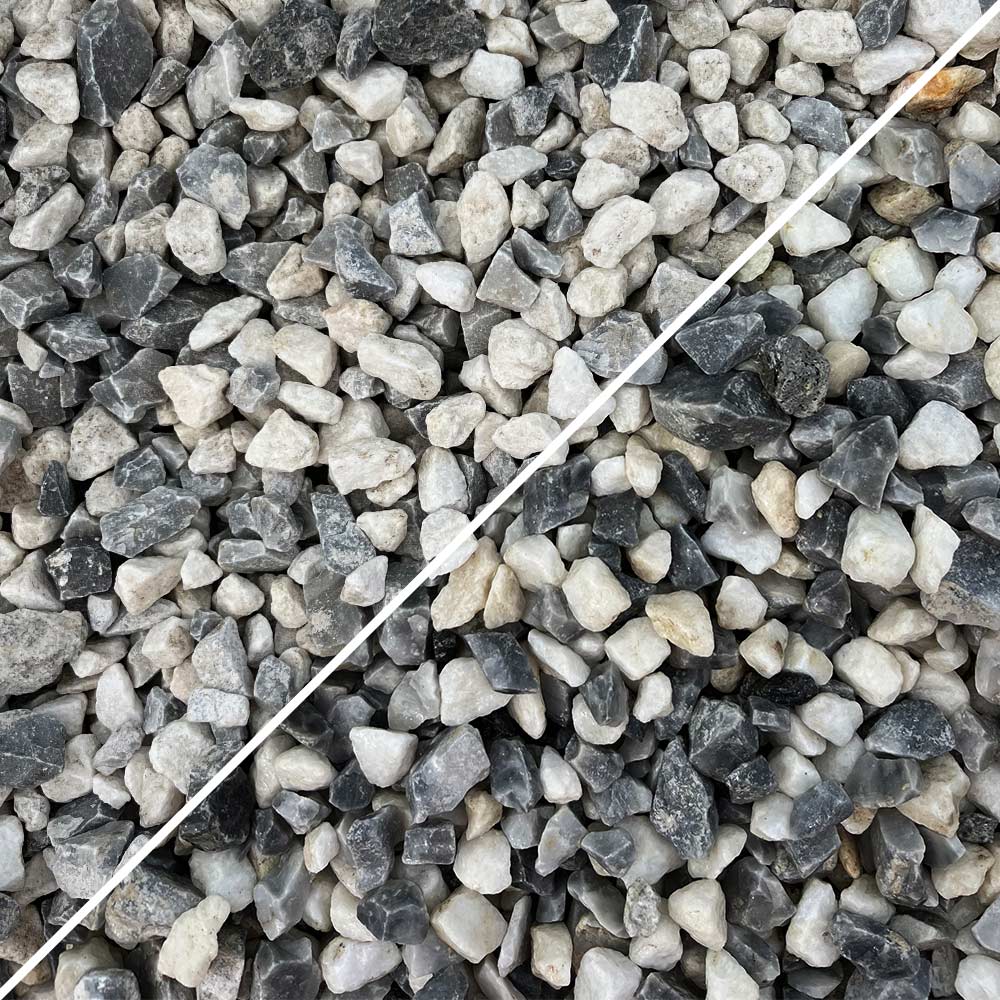
If, for example, your path is going to be on a slope, we suggest something like a 20mm plum slate chipping; this kind of slate can cope well with the slope, particularly when it rains. Generally, we suggest gravel up to 20mm is considered most suitable for garden paths, while 20mm slate is also useful for forming a flat and comfortable walking surface.
For a more modern look to your gravel path, why not choose something like our Black Ice Chippings?
Take a look at our full range of aggregates and gravel and see which suits your ideas!
3) Mark and Prepare
Now is when you should mark out the final route for your path. There are several ways to mark your route, we recommend using rope, string, line-marking paint or even your garden hose to mark where the path will run in your garden. Once you are satisfied with the final planned route, it’s time to get digging.
4) Dig your edging
At this stage, you want to remove the soil within your marked area to form a trench. We suggest aiming for a depth of around 4 inches and use a square edge spade to keep the sides of the trench nice and straight and even. Once this has been done, you should then smooth the bottom of your trench with a rake and compact it using a tamper or another flattening tool.
5) Enclosing your path
Once the bottom is nice and compact, you will need a border to help keep the gravel neatly contained. There are several kinds of border to choose from, including metal edging, bricks, wood and stone. These borders should cover both sides of the path.
6) Line trench with crushed stone
An important step is to line the smooth and compacted soil at the bottom of the trench with crushed stones. This should be about 10cm of hardcore, which must be level across the path area. Always ensure the crushed stone is compacted once laid with either a sledge hammer or plate compactor.
7) Lay a weed resistant membrane
We recommend including a permeable membrane between the base of the trench and the top layer of gravel. A membrane will help ensure the gravel does not mix in with the base layer of hardcore or the soil beneath, and is also strong, permeable and will prevent weeds from sprouting through your gravel path in years to come. Simply place your weed resistant membrane on top of the crushed stone later before cutting and shaping to fit the path area, overlapping at the cuts on the inside of any curves.
8) Laying your gravel surface
Once your weed membrane is set down, it’s time to finish things off and distribute your gravel carefully across the top. Always ensure an even coverage with a depth of at least 2-3cm. The gravel can simply be shovelled on to the membrane and then distributed with a garden rake.
Order your Gravel todayOur Best Selling Gravel