Want to spice up your garden with some decorative aggregates? Follow our handy guide on how to lay Decorative Aggregates to get them laid.
How to lay Decorative Aggregates in your garden
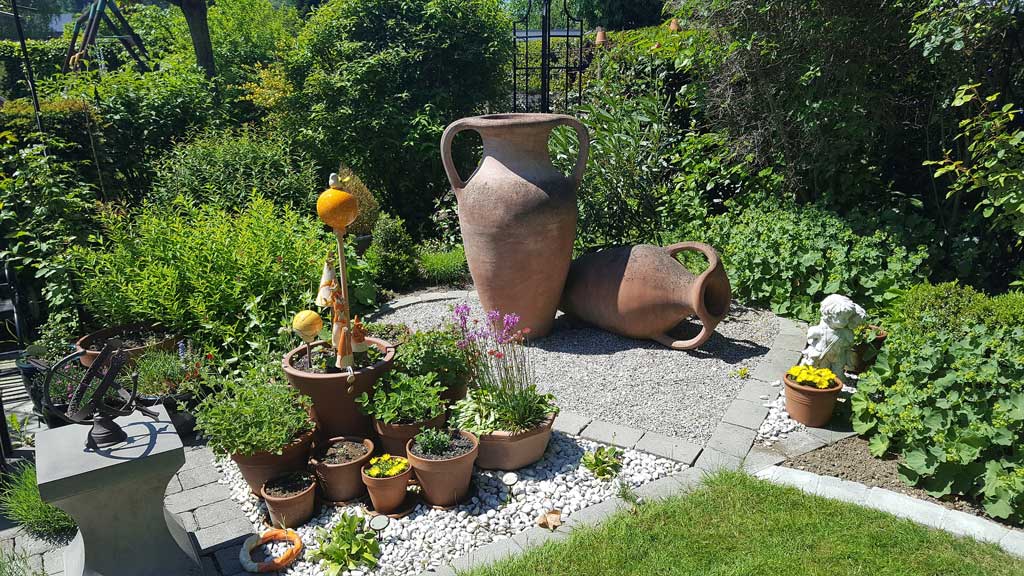
With a little bit of time and some hard work, it’s possible to create a really professional looking finish without hiring somebody to do the work on getting your decorative aggregates in your garden. Follow our guide on how to lay your decorative aggregates and get your garden project completed.
Planning
Ensuring your project goes as you want it to requires planning. When you’ve finally decided on your project, you’ll then need to choose what type of decorative aggregate you will be using. Whether you are using chippings, slate, pebbles, or bark, you will need to ensure that you’re using a suitable product for your project.
Once that decision is taken care of, it will be time to mark out your project in your garden. We recommend using string or wire to make your markings, but anything long and flexible will do! Remember, taking the time to properly plan out your project will help prevent issues cropping up further down the line.
Start Digging
The second step is the most important to get right. Take the time to thoroughly prepare the area you will be laying with decorative aggregates, and the rest of the work should not be much of an issue.
Digging a trench is important because it will keep the aggregates secure and in place. If an area is going to be purely decorative, you may only need to level the ground which will save some time and effort, but in most instances we recommend digging a trench to help the decorative aggregates stay in place.
To begin with, dig a trench to lay the foundation for your aggregates. We advise that the trench should be between 100mm and 150mm deep, depending on the project. Try to ensure that the The walls and floor of the trench are as straight as possible to ensure stability – using a rake can help to achieve this if necessary.
Remember you can hire one of our skips to dispose of any existing material that you won’t be using in the future.
Line the Trench / Levelled Ground
Firstly, you’ll want to lay the bottom of the trench with about 20mm of crushed stone. This provides some solid stability to the area, as laying your aggregates directly on soft ground could cause you to lose stones which can spoil your landscape further down the line. It’s vital that this layer of crushed stone is flat and compact – enough so no aggregates can escape.
Then you will want to lay some form of Weed Control Membrane over the crushed stone. This protective layer stops weeds from penetrating the ground and ruining all your hard work. Cut your fabric to fit the area you are covering, and leave some holes if you are going to be planting vegetation beneath the aggregates.
Lay down your decorative aggregates
Finally, the moment you have been waiting for has arrived. This is the most satisfying part of the project, where you get to pour on your decorative stone. There is no real technique to this, just pour it into the space you have made for it!
Once the stone is in place, take some time to flatten it out and make it level. Hose it down to remove dust and dirt and then your project is finished.
Order your Decorative Aggregates today